Note: This post uses affiliate links at no additional cost to you! By clicking the links in this post, I earn a small commission should you make a purchase. Thank you in advance!
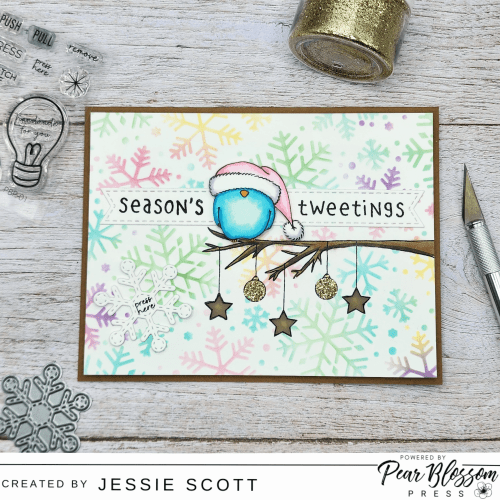
Greetings! Let’s have some fun with products from Pear Blossom Press today! This card features the AMAZING Pear Blossom Press Twinkle Lights and I’m also showcasing the adorable Gerda Steiner Season’s Tweetings Set on their blog today.
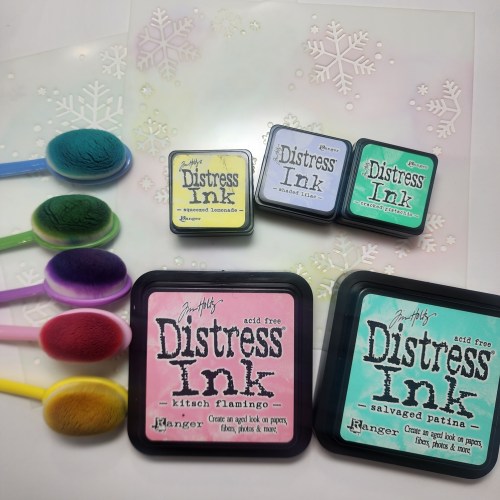
First I chose a fun pastel color scheme for my stenciling on the background with Lawn Fawn Snowflake Background Stencils .
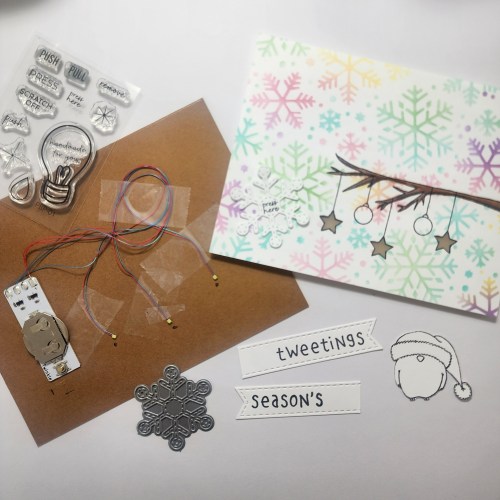
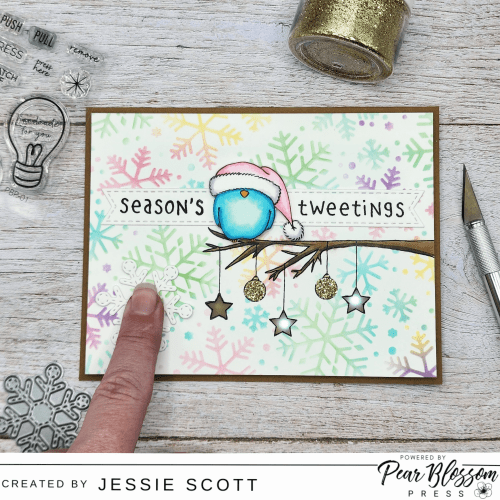
I stamped the branch and added some ornaments from Gerda Steiner Designs Season’s Tweetings Set, then took an X-Aacto knife to cut out the stars in this image. I added Pear Blossom Press Vellum to the back of the stars and colored them with a yellow marker. (make sure you mark the light spots on the card base before you add the vellum or it will be hard to get them placed just right!
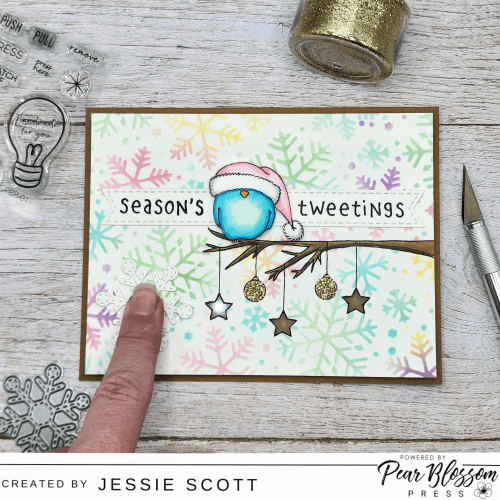
I cut out one of the Lawn Fawn Stitched Snowflake Dies and stamped “press me” from the Pear Blossom Press Stamp and Die Set. I adhered this to the card in the bottom left and lined up with the Pear Blossom Press Twinkle Lights button.
Tip: make sure you leave room for the Pear Blossom Press World’s Greatest Foam Tape on the edge! I totally did 🙂 BUT thank goodness its REMOVABLE!
For the sentiment, I used a Essential Stitched Sentiment Strip from My Favorite Things die cut twice and stamped the sentiment on the left and right edges and trimmed off the other edge so I could extend it and hide the edges behind the bird.
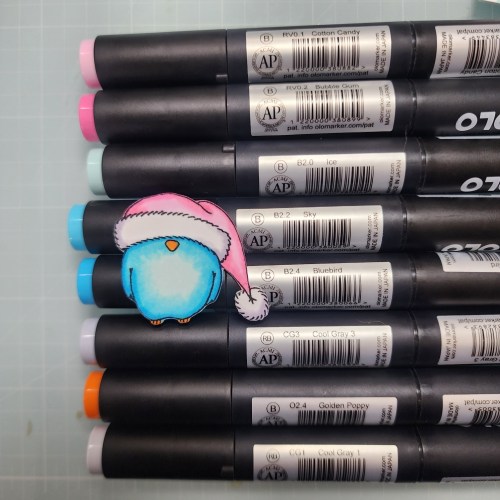
Next I colored my super adorable birdie with my Olo Markers. This little guy is also from Gerda Steiner Designs Season’s Tweetings Set.
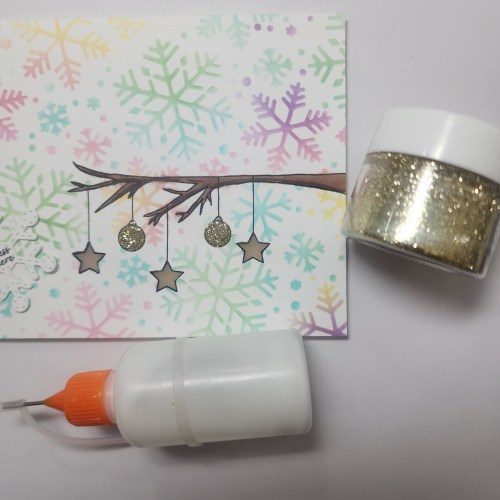
I thought coloring the round ornaments would look plain on this card so I added liquid glue and covered in fine gold glitter.
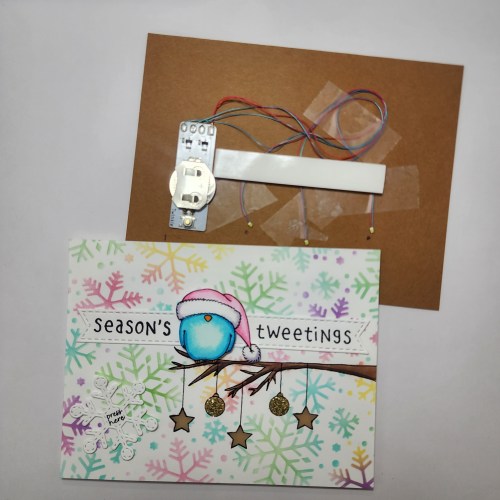
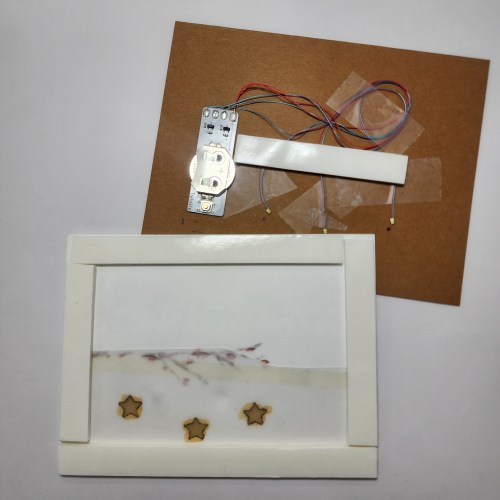
Now I am ready to go! I sat the card front on top of the card base and turned it on to make sure it all lined up, FABULOUS! Then I added the Pear Blossom Press World’s Greatest Foam Tape on the edges and added one strip to support the middle and also help hold down the lights permanently. My birdie is up on some thin foam just to give a little dimension with the sentiment strips glued flat behind him.
Tip: I also like to put just a touch of liquid glue behind the light to hold it as well. Scotch tape over time might dry out and come off.
Time for the big reveal!
Be sure to check out the Pear Blossom Press Blog for more inspiration by myself and other Design Team members! If you are on Facebook, you can also follow Pear Blossom Press’s Page there for the latest news.
**Note: This blog does use affiliate links when possible.

3 thoughts on “Pear Blossom Press: Twinkle Lights”