Note: This post uses affiliate links at no additional cost to you! By clicking the links in this post, I earn a small commission should you make a purchase. Thank you in advance!
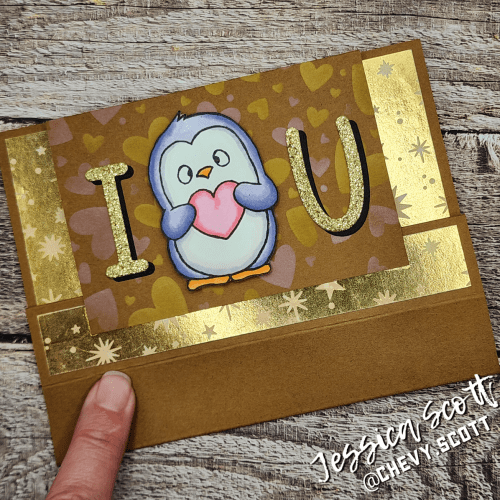
Greetings! I’m showcasing again the adorable Penguin with Heart from Gerda Steiner Designs with this funfold design. This design folds flat in an A2 envelope for mailing, but also stands on its own!
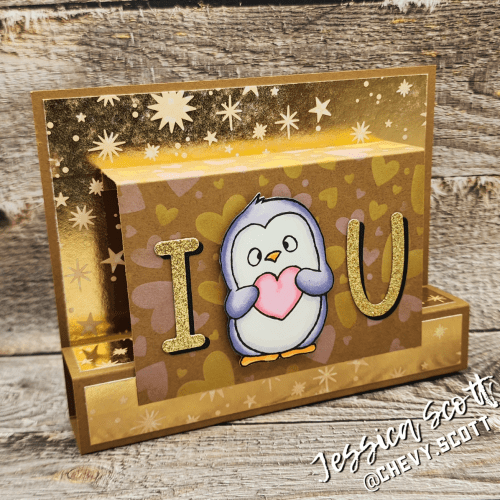
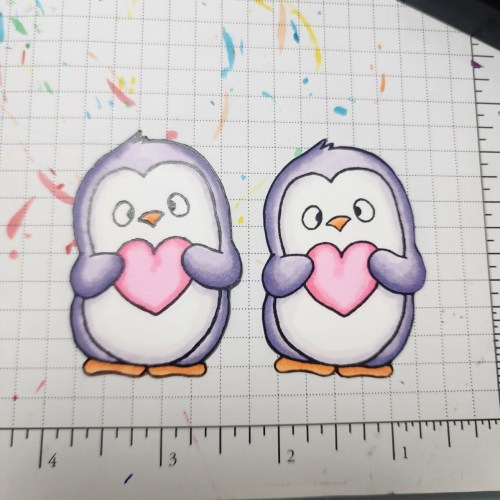
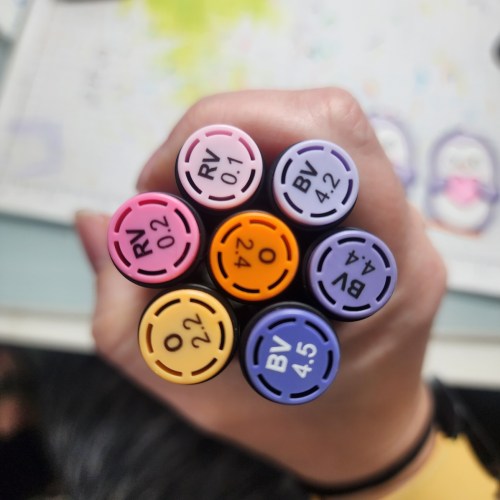
In case you missed, it I first I colored this cute Penguin with Heart with my OLO Markers. I made two just in case I had an oops 😉 That’s how this card was born! Extra image! Alphabet is from Mama Elephant Whimsy Alphas.
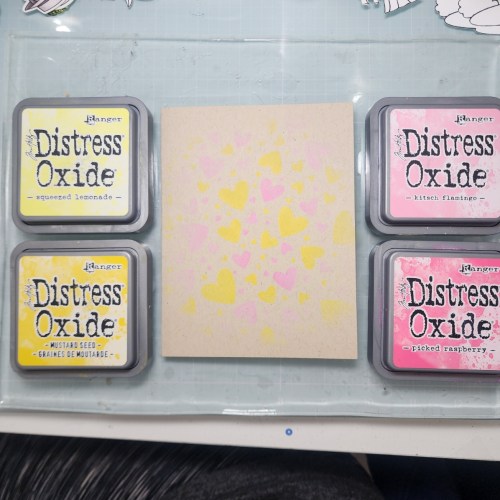
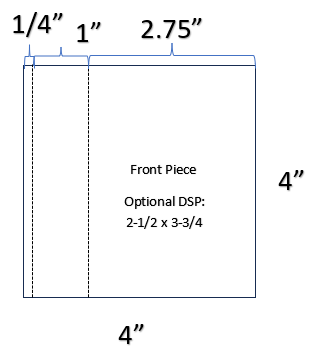
Next I used the Lawn Fawn Lots of Hearts Background Stencils with Distress Oxide Ink (Squeezed Lemonade, Mustard Seed, Kitsch Flamingo, Picked Raspberry) on Kraft. This is what I used on the front piece instead of adding the optional decorative paper piece. I trimmed it to the 4×4 shown below.
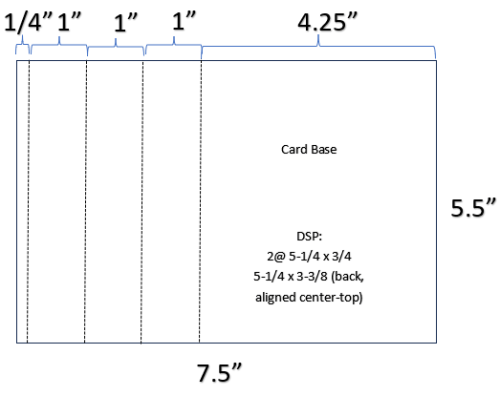
I made the card base by following this diagram below, folding each scored piece in until the 1/4″ could be glued to back to make the stand part that will fold flat.
*TIPs*
- I glued down the larger decorative paper on the back part first, aligned top center, before finishing the card base by gluing the 1/4″piece to the card front.
- When you glue the 1/4″ piece down, glue it with the card base in the closed flat position so you know it can close flat to mail.
- Then add the other thin strips of decorative paper before adding the top piece.
To adhere the 4×4 top piece, you will fold it the same way, with the 1/4″ piece folding in and towards the card front. You will glue the 1/4″ piece to the card front like the previous piece but also apply glue to the bottom of the other end of the panel to connect to the box part of the card base.
Closed Position. Note the top panel is aligned so the 1-1/4″ fold is level with the top of the card base.
*TIPS*
- Make sure you place the 4×4 piece LOW enough on the card base (this part collapses UP, so your panel might go too high and make the assembled card larger than A2)
- Glue the 1/4″ part first. Fold the middle fold ONLY (the one at 1-1/4″), then align the top of that fold to the top of the card when you glue down the 1/4″ part.
- Put glue on the bottom part of the panel to glue to the box part of the card base, but make sure to glue it down with the card collapsed in the closed position
What do you think? Was it easy?

**Note: This blog does use affiliate links when possible.
