Note: This post uses affiliate links at no additional cost to you! By clicking the links in this post, I earn a small commission should you make a purchase. Thank you in advance!
Greetings! Let’s have some fun with products from Crafty Meraki today!
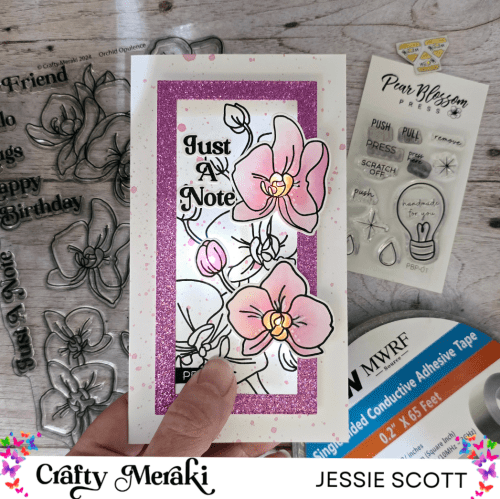
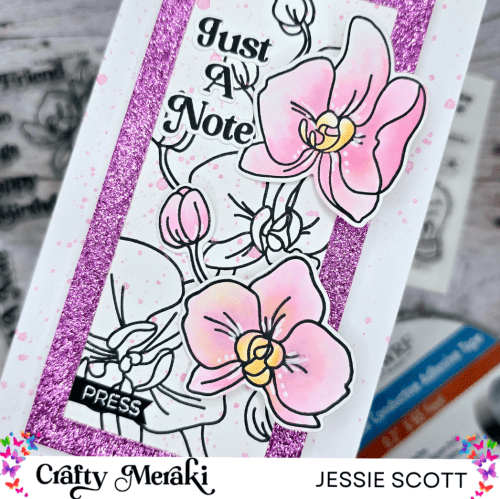
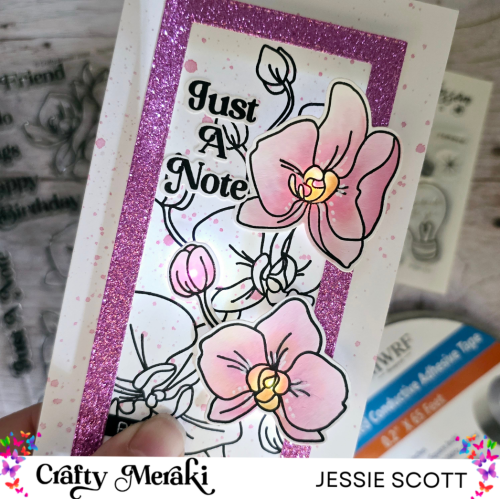
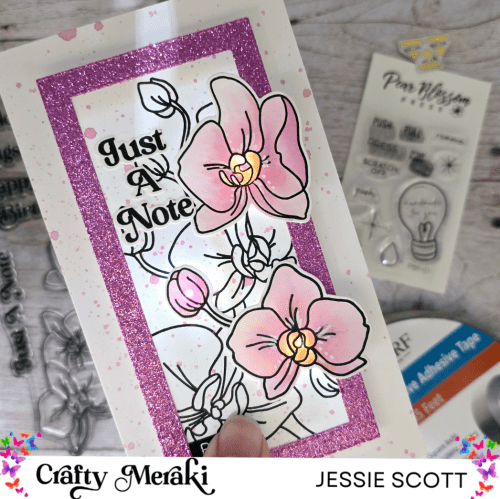
This week the theme is interactive and everyone knows I love LIGHT UP CARDS! I also support Pear Blossom Press on their Blog Team and this time I thought I would try out the new 1/8″ Maker Tape conductive adhesive. This is a replacement for the classic copper tape and is a material, so more flexible and resilient to the mail. I loved working with it!

The Power Pack Kit (Power Packs, Batteries, Chibitronics, and Maker Tape) comes with the Maker Tape and Chibitronics and would have made my life easier with the Power Packs haha. I did not have the kit, but I had the Maker Tape and Chibitronics Lights. As you can see in the “behind the scenes” image, I made a paper battery holder and a positive and negative track to adhere the Chibitronics Lights to. As always I mounted the top panel with the Pear Blossom Press World’s Greatest Foam Tape and added a “push” from the Pear Blossom Press Stamp and Die Set.
Supplies Used:
- Crafty Meraki Mini Slimline Frame-Worthy Meraki Para-Dies
- Crafty Meraki Orchid Opulence Stamp Set
- Pear Blossom Press World’s Greatest Foam Tape
- Pear Blossom Press Stamp and Die Set
- 1/8″ Maker Tape conductive adhesive
- Power Pack Kit (Power Packs, Batteries, Chibitronics, and Maker Tape)
- Chibitronics Lights (30) pack
Here’s a fun assembly video on my YouTube! Hope this helps you create light up cards in your near future!

Be sure to check out the Crafty Meraki Blog for more inspiration by other Design Team members! If you are on Facebook, you can also follow Crafty Meraki’s Page there for the latest news.
**Note: This blog does use affiliate links when possible.