Note: This post uses affiliate links at no additional cost to you! By clicking the links in this post, I earn a small commission should you make a purchase. Thank you in advance!
Greetings! Let’s have some fun with products from Pear Blossom Press today!
Here’s what we are making in action!
Check out the coloring and assembly video on youtube, link at the bottom of this page, or you can read my quick summary below!
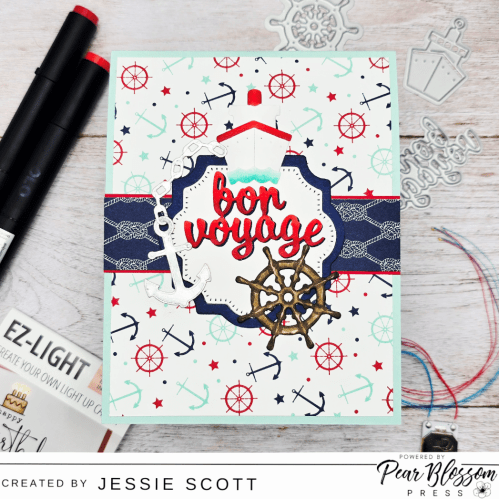
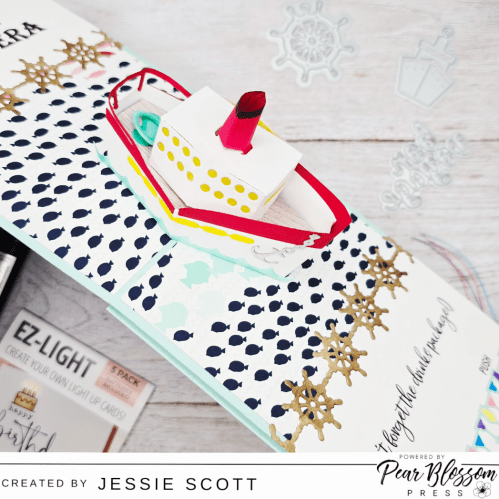
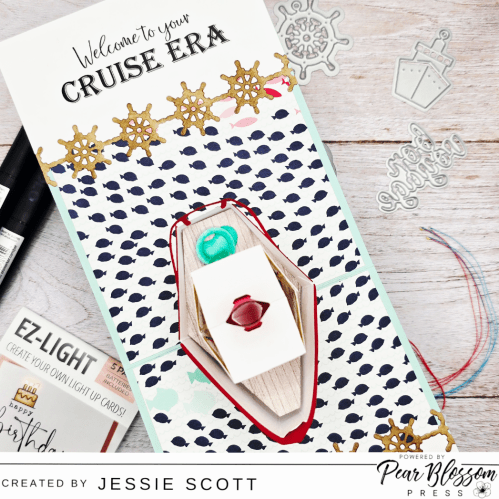
I used some nautical paper in my stash for the card front and added die cuts from Karen Burniston Cruise Charms. I colored the ship, sentiment, and wheel with my OLO Markers. I really love how this came out to match the inside so well!
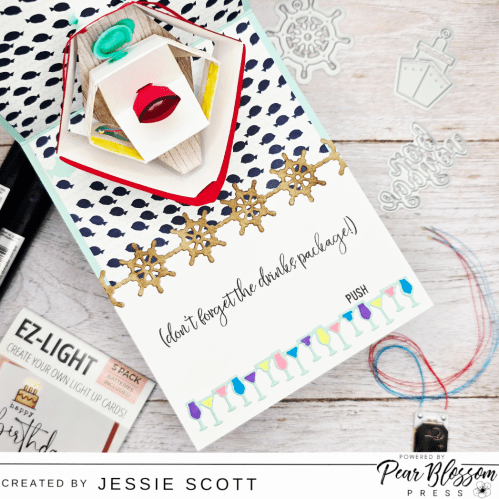
On the inside I printed a custom sentiment for the top and bottom panels. To embed the Karen Burniston Set Sail Borders, I die cut the wheel borders into the white pieces then inlayed the borders.
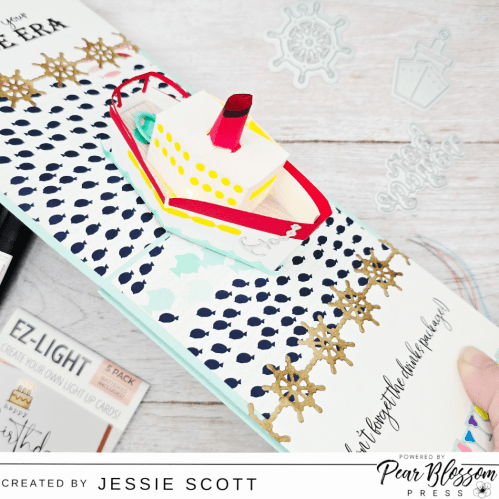
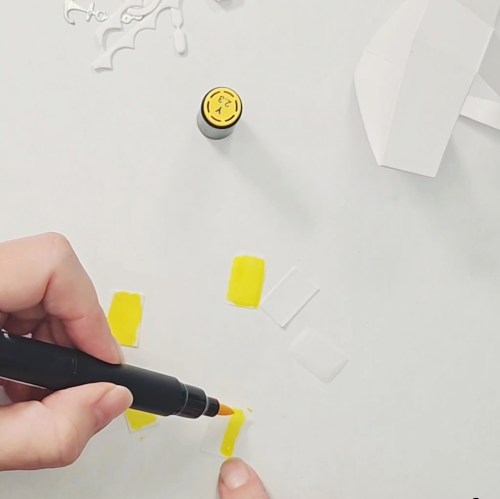
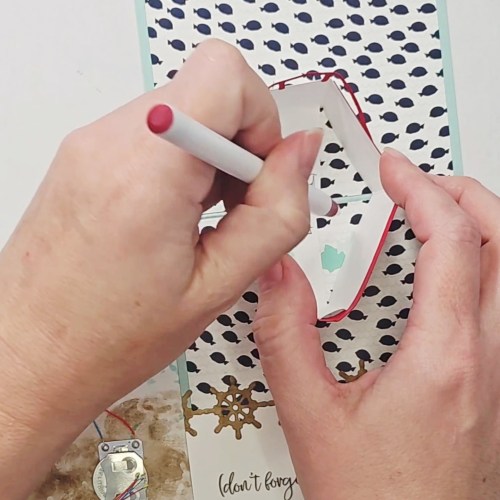
To make the cruise ship, I followed the video to make the Karen Burniston Cruise Ship Add-ons with the Boat Pop-up base dies. I cut out the window panels with Pear Blossom Press Vellum and colored them yellow with my OLO Markers.
If you try to make your own, DON’T glue together the top piece with the vellum windows on the tab around to shut it. I reopened mine afterwards to get the lights taped on the inside. I would do it slightly different next time haha.
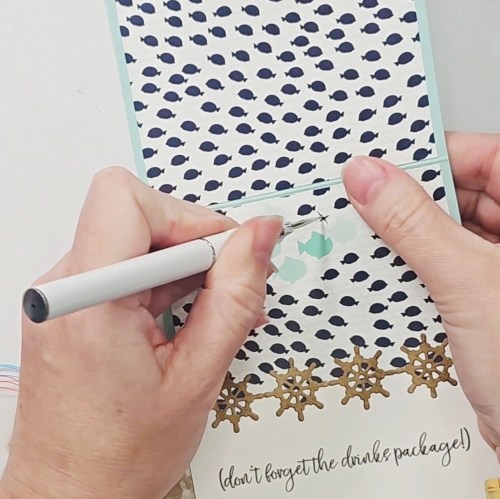
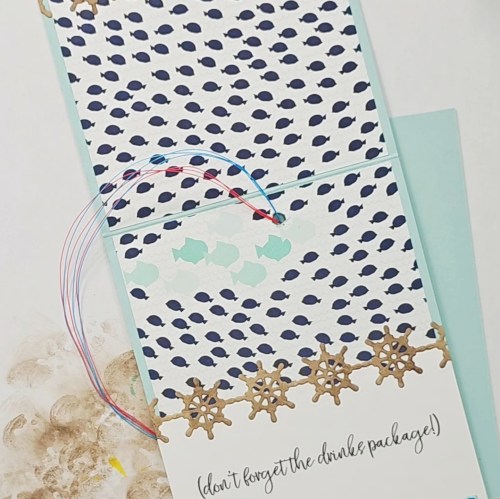
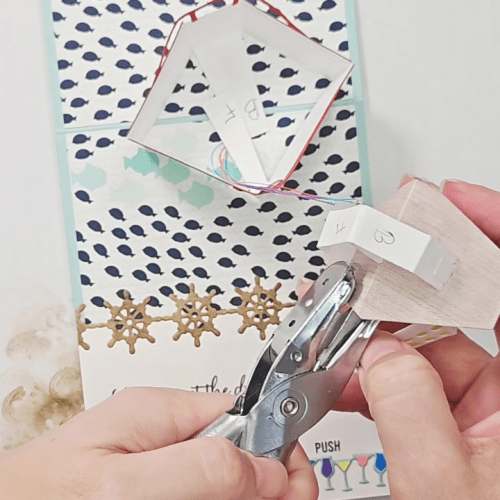
I poked a hole in the bottom of the base of the card, offset a little to the right of where the cruise boat gets glued down so the hole is hidden under the ship. Then I pushed the lights up through boat deck piece (using a hole punch because it can reach on this piece) and into the top piece with the windows. Then I had to reopen the lights area so I could tape in the lights and then glue it shut again.
Then I just glued the ship into the card just like the Karen Burniston video.
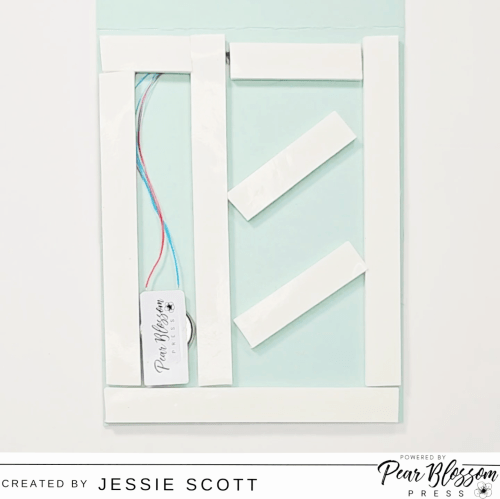
To complete out the card, you just put the Pear Blossom Press World’s Greatest Foam Tape on the back around the button/battery pack and seal it with a piece of matching cardstock. I then stamped the “push” from Pear Blossom Press Stamp and Die Set. To see the entire card making experience, see the full sped up video below!
Supplies Used:
- Pear Blossom Press EZ Lights
- Pear Blossom Press World’s Greatest Foam Tape
- Pear Blossom Press Stamp and Die Set
- Pear Blossom Press Vellum
- Karen Burniston Boat Pop-up
- Karen Burniston Cruise Ship Add-ons
- Karen Burniston Cruise Charms
- Karen Burniston Set Sail Borders
- Karen Burniston Beach Borders
- Karen Burniston Paper Frames Popup
- OLO Markers
Here’s the full video of coloring and assembly!
Hope you enjoyed the card this month!
Be sure to check out the Pear Blossom Press Blog for more inspiration by myself and other Design Team members! If you are on Facebook, you can also follow Pear Blossom Press’s Page there for the latest news.

**Note: This blog does use affiliate links when possible.

One thought on “Pear Blossom Press: Seas the Day with EZ Lights”