Note: This post uses affiliate links at no additional cost to you! By clicking the links in this post, I earn a small commission should you make a purchase. Thank you in advance!
Greetings! Let’s have some fun with products from Pear Blossom Press today!
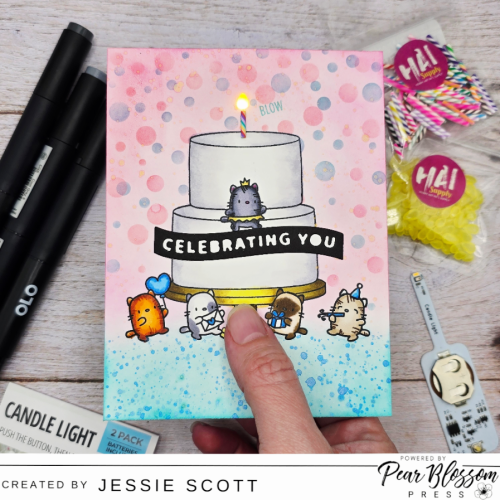
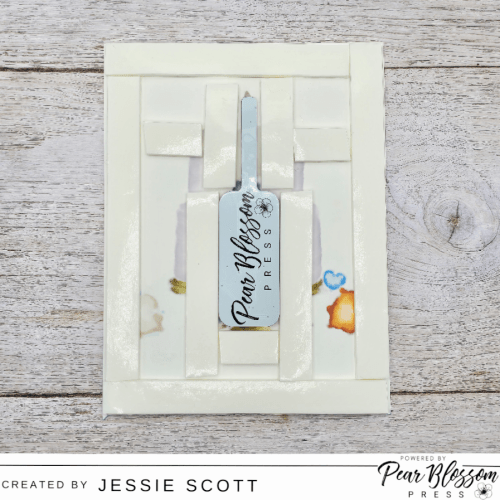
Here’s what we are making in action!
Don’t like to read? Coloring and assembly video on youtube, link at the bottom of this page, or you can read my quick summary below!
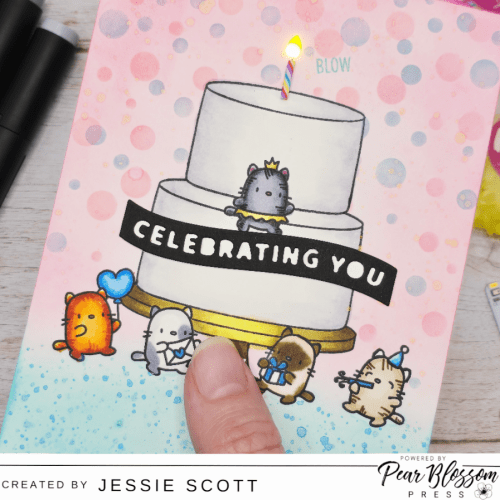
Let me start by saying – I AM HORRIBLE AT MASKING bwahah. I took a couple tries before I got the stamping order right, but it was worth all the work!
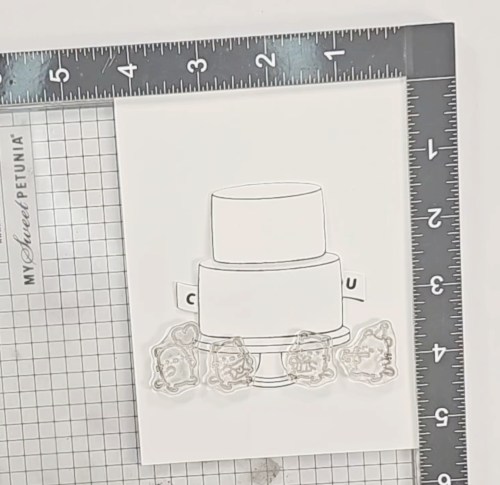
I first took some image cut outs for all the stamps I wanted to use (Mama Elephant Celebration Cake and Little Cat Agenda stamp sets) and figured out my scene. I knew I wanted the furry princess front and center standing on the banner “Celebrating You” over the cake and a party all around.
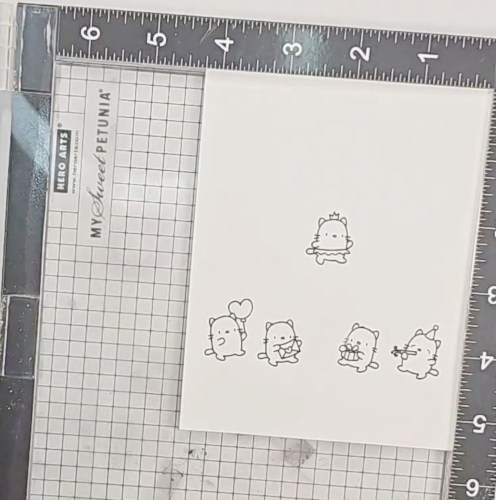
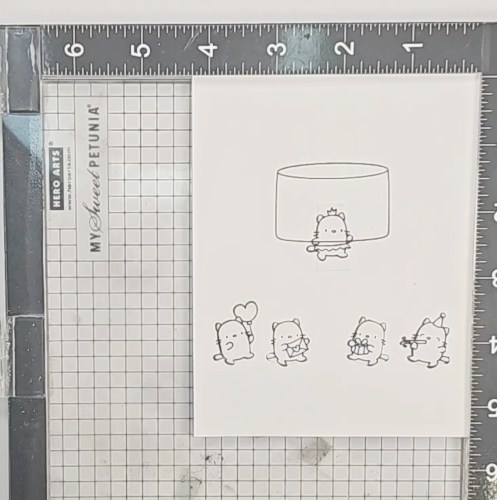
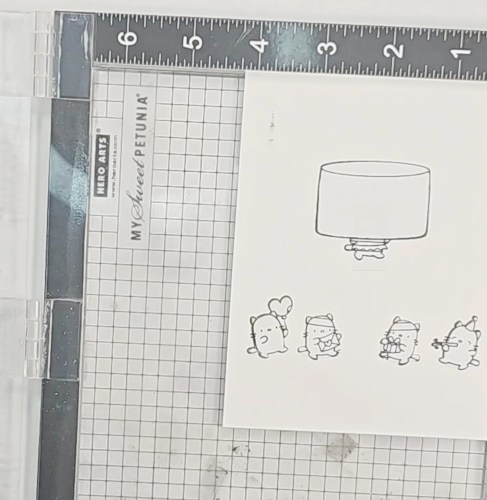
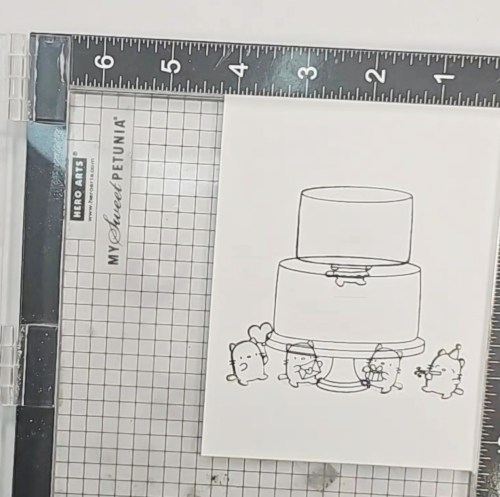
I stamped the kitties first, masked them off and then stamped the top layer of cake, masked it off, then stamped the bottom cake with stand.
I covered the rest of the image with a mask so I could ink up a background. I have a two layer bokeh/confetti stencil retired from MFT but I’m sure you have something similar! I blended more Salvaged Patina on the “table” bottom and added more of the Picked Raspberry to the confetti top area.
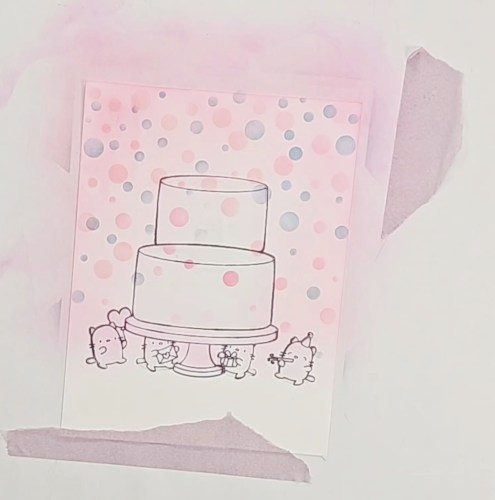
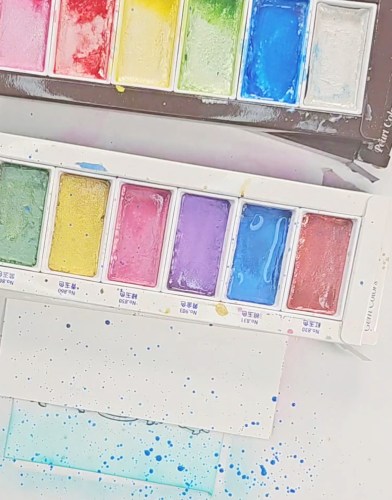
I grabbed my Kuretake watercolors to add some shimmer and shine to the background in gold splatter and two different tones of blue for the table.
Whew! We’re done! Oh wait… I forgot I wanted to use the candle stamp (whoops) and it was too late to go back and mask it in to the right place. BUTTTTT great news! PBP carries HAI products and the Clay Mix Candles and the Gems – Yellow Candle Flames are a perfect add on to a card for a candle. I’ll add those at the end!
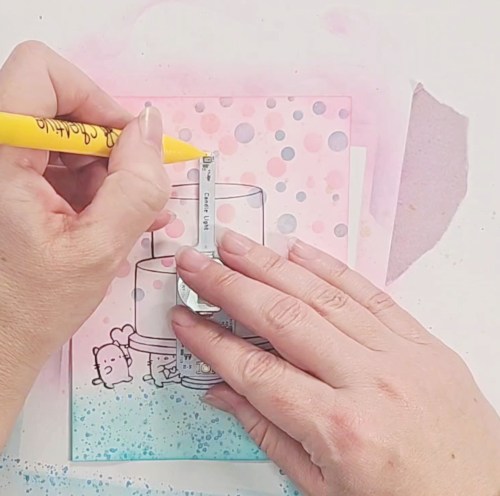
I lined up the Pear Blossom Press Candle Light so I could mark where the flame needed to be. I used the small flame die from the Pear Blossom Press Stamp and Die Set to make the hole for the light to come through. I trimmed a little additional off the bottom of the cut to leave for an air hole for the “blow” to come in and blow out the candle.
The die cut was a little big for the flame I chose, so I backed the hole with Pear Blossom Press Vellum and glued the flame to that. I made sure not to cover up the air hole for blowing out the candle.
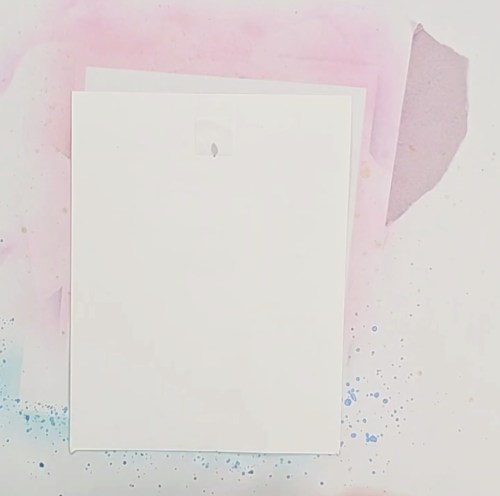
I peeled off the masking and then finished up the card by coloring the images with my OLO Markers and then all I needed to do from here is flip it over and stick the Pear Blossom Press Candle Light to the back! I bordered it with Pear Blossom Press World’s Greatest Foam Tape (double thick perfect for lights!) and adhered it to a card base. BOOM! We’re done!
Supplies Used:
- Pear Blossom Press Candle Light
- Pear Blossom Press World’s Greatest Foam Tape
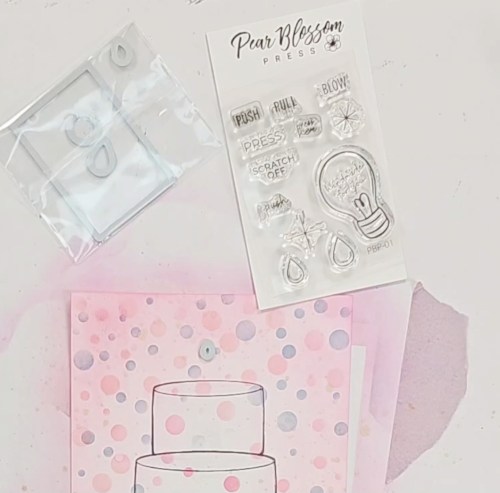
- Pear Blossom Press Stamp and Die Set
- Pear Blossom Press Vellum
- Clay Mix Candles
- Gems – Yellow Candle Flames
- Mama Elephant Celebration Cake stamp set
- Mama Elephant Little Cat Agenda stamp set
- Mama Elephant Banner Greetings – Creative Cuts
- OLO Markers
- Bokeh or Confetti Stencil
- Distress Ink
Here’s the full video of coloring and assembly!
Hope you enjoyed the card this month!

Be sure to check out the Pear Blossom Press Blog for more inspiration by myself and other Design Team members! If you are on Facebook, you can also follow Pear Blossom Press’s Page there for the latest news.

**Note: This blog does use affiliate links when possible.