Note: This post uses affiliate links at no additional cost to you! By clicking the links in this post, I earn a small commission should you make a purchase. Thank you in advance!
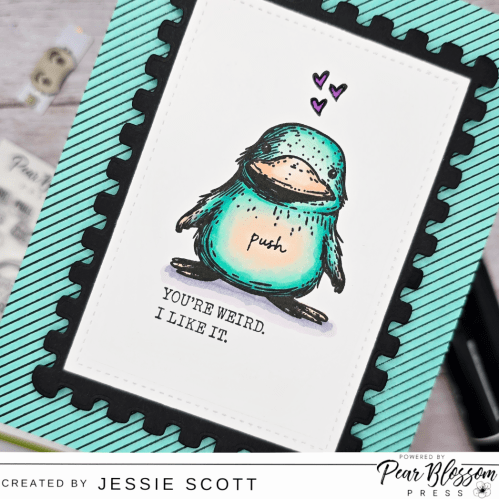
Greetings! Let’s have some fun with products from Pear Blossom Press today! I used the longer One Light from the Pear Blossom Press Halo Light Combo Pack to light up the hearts floating above this cute character. The extra length of these One Lights allowed me to have the “push” button on his belly!
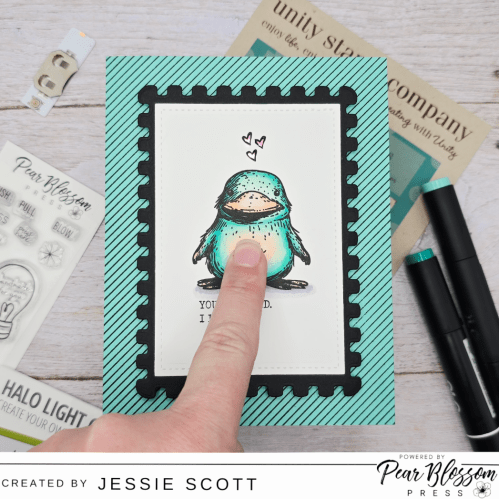
Here’s what we are making in action!
Coloring and assembly video on youtube, link at the bottom of this page, or you can read my quick summary below!
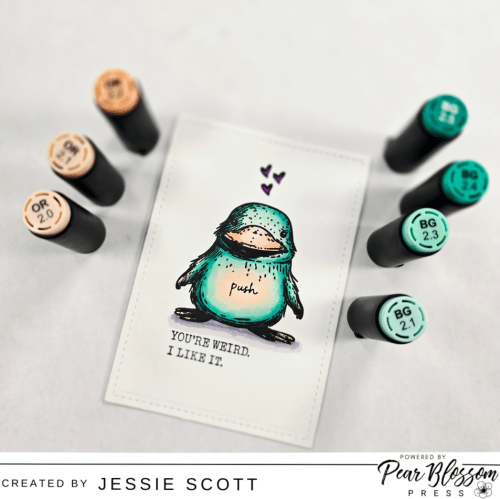
First I colored the super cute image from Unity Stamp Co. It’s called Platypus Peculiarities. I colored the image with my OLO Markers.
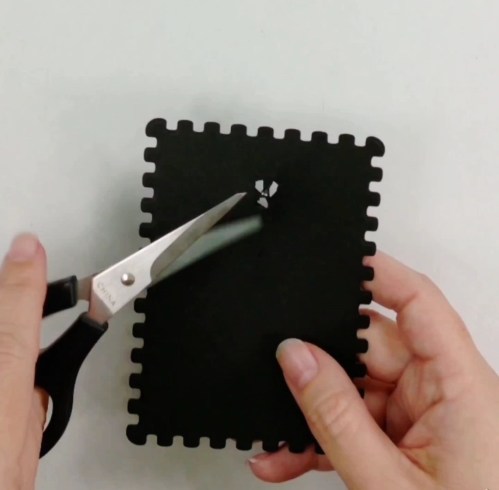
I used an x-acto knife to cut out the hearts.
For perfect placement of the rubber stamps, I used the Simon Says Stamp Grid Transparency to see how the stamp was lined up before stamping onto my project.
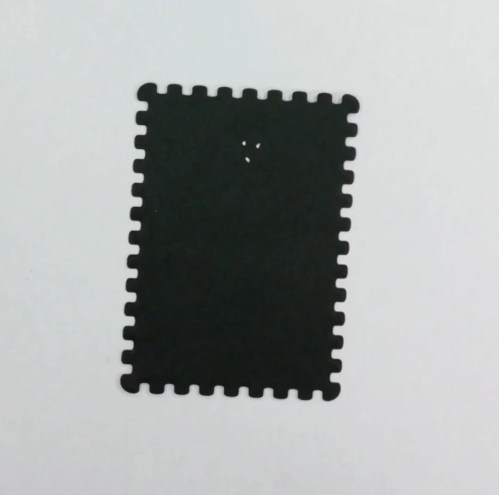
I loved the idea of black and white with a pop of turquoise so I cut out the frame panel from the Whimsy Stamps Extreme Postage Die Set in black. I used a white pen to mark the black frame spots through the cut out hearts so I could cut out holes to allow the light through both panels. I colored a piece of Pear Blossom Press Vellum purple with my OLO Markers and glued it behind the holes.
I glued these two panels together and mounted the longer One Light from the Pear Blossom Press Halo Light Combo Pack to the back with the light in the center of all 3 heart holes. Since they are close together, one light works perfect to diffuse through the colored vellum.
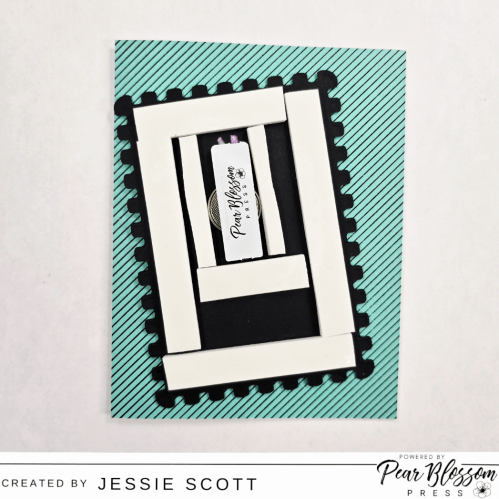
I added some Pear Blossom Press World’s Greatest Foam Tape and now it is ready to complete! I used the Altenew Pinstripe Stamp Set to add some fun pattern to the turquoise card base before finishing up the card assembly.
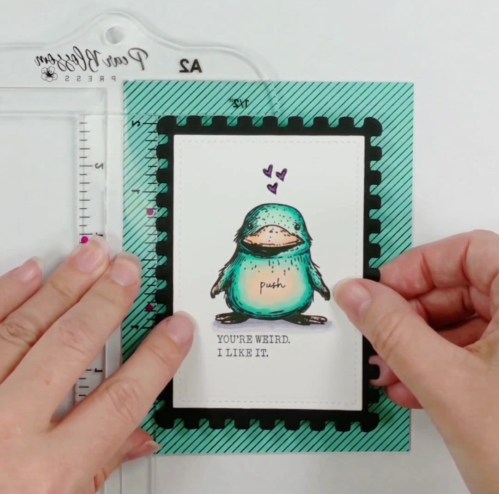
If you haven’t tried the new Pear Blossom Press A2 T-square – its AMAZING! Not only does it provide you the center points and thirds for both sides of an A2 card, you flip it over and it provides a jig for placing 1/2″ and 3/8″ bordered panels. The Extreme Postage Die was the perfect dimension to use the 1/2″ border for this card. Perfect placement!
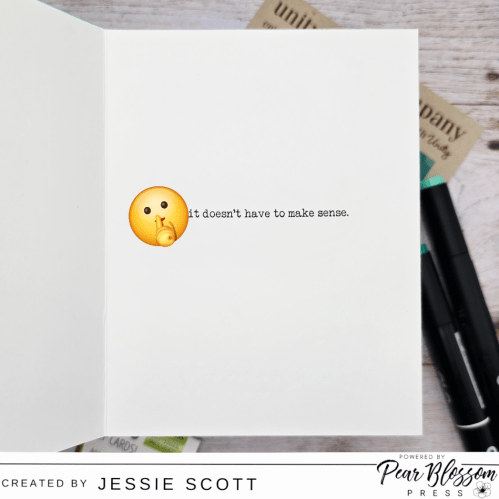
For one last finishing touch, I stamped the inside of the card with another sentiment from the set. It has a few more letters in front of “it” if you know what I mean! 😉
Supplies Used:
- Pear Blossom Press Halo Light Combo Pack (Longer One Light)
- Pear Blossom Press World’s Greatest Foam Tape
- Pear Blossom Press Stamp and Die Set
- Pear Blossom Press Vellum
- Pear Blossom Press A2 T-square
- Unity Stamp Co Platypus Peculiarities Stamp Set
- Whimsy Stamps Extreme Postage Die Set
- Discount 10% off your order (one time use) use code CHEVYSCOTT
- Altenew Pinstripe Stamp Set
- Simon Says Stamp Grid Transparency
- OLO Markers
Here’s the full video of coloring and assembly!
Hope you enjoyed the card this month!

Be sure to check out the Pear Blossom Press Blog for more inspiration by myself and other Design Team members! If you are on Facebook, you can also follow Pear Blossom Press’s Page there for the latest news.

**Note: This blog does use affiliate links when possible.

One thought on “Pear Blossom Press: Light Up Your Weirdness”